
With summer right around the corner, what better way to wear your hair in the heat and humidity than in a fun ponytail! This week Alicia will be showing three different style pony tails that you can wear all summer long and to different type of occasions.
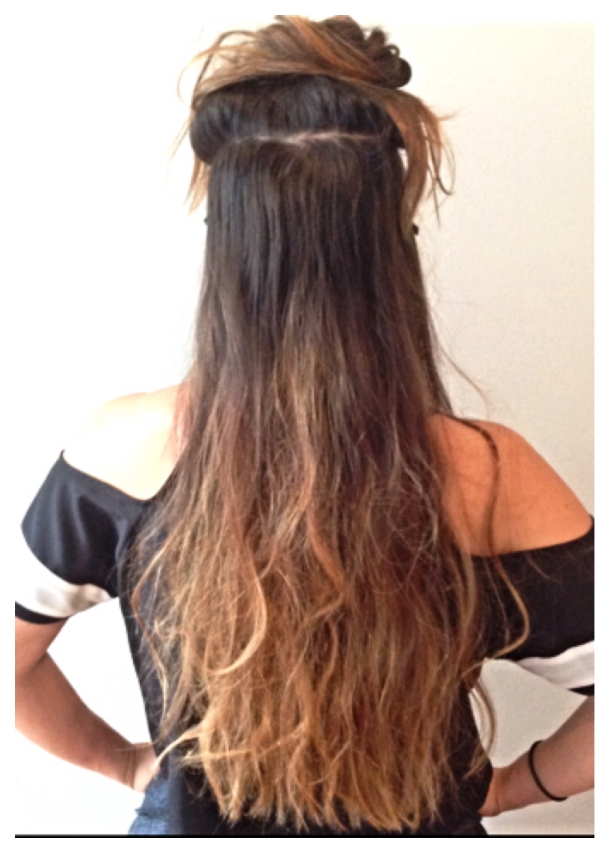
Hair Prep
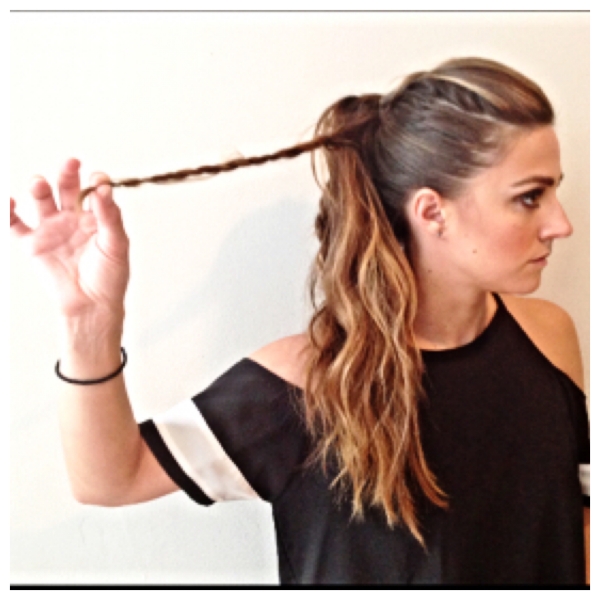
For this look I wanted to get natural beachy waves without having to put much heat on my hair and spend too much time curling it.
- Before heading to bed, dampen your hair with a spray bottle. Don’t completely saturate your hair, just spray until the hair looks lightly misted.
- Using the Bumble and Bumble Salt Spray, mist your hair. Make sure you lift your hair so you can also get the underneath.
- Part your hair to your desired side and start braiding two loose french braids. For tighter waves you can tighten the braids, and for even more wave you can take smaller sections and add more braids.
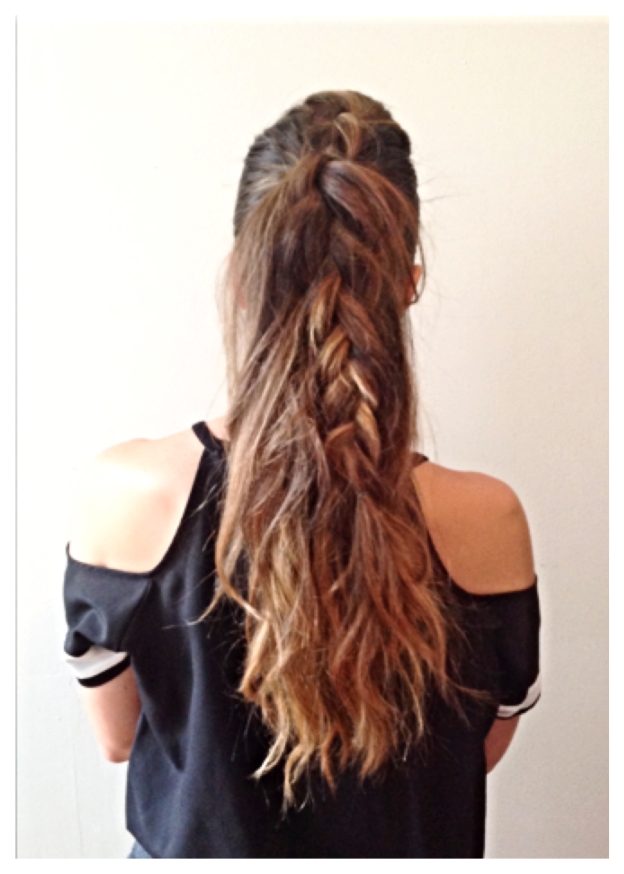
- The next morning undo the braids and shake them out. If desired you can then take your curling rod and curl some of the pieces.
- To get maximum texture and volume, finish the hair with my go to favorite Oribe Dry Texturizing Spray.


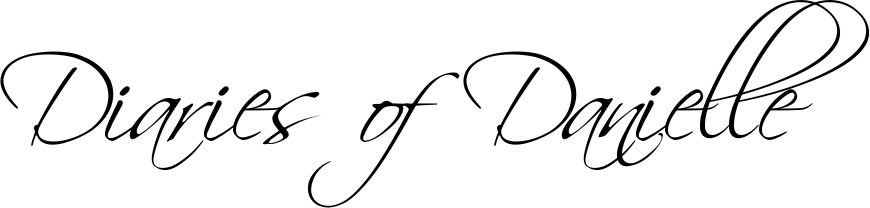
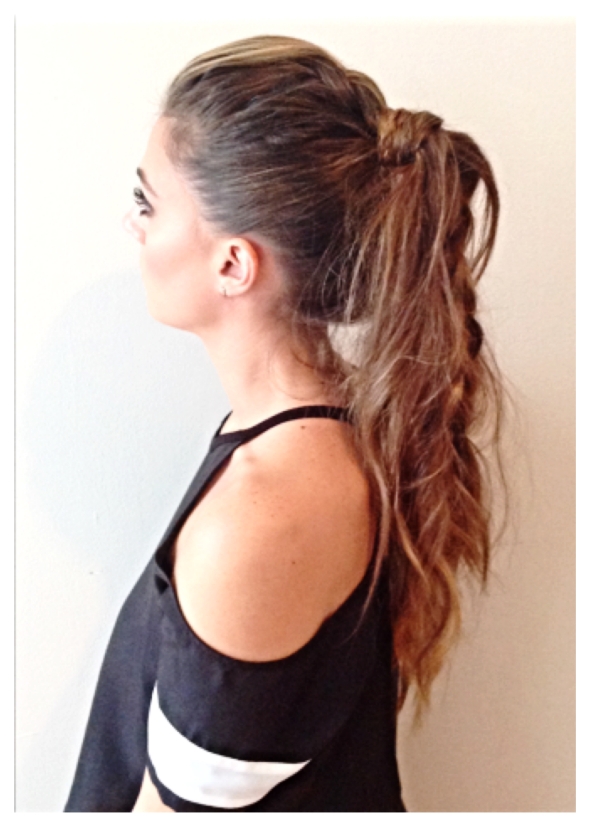
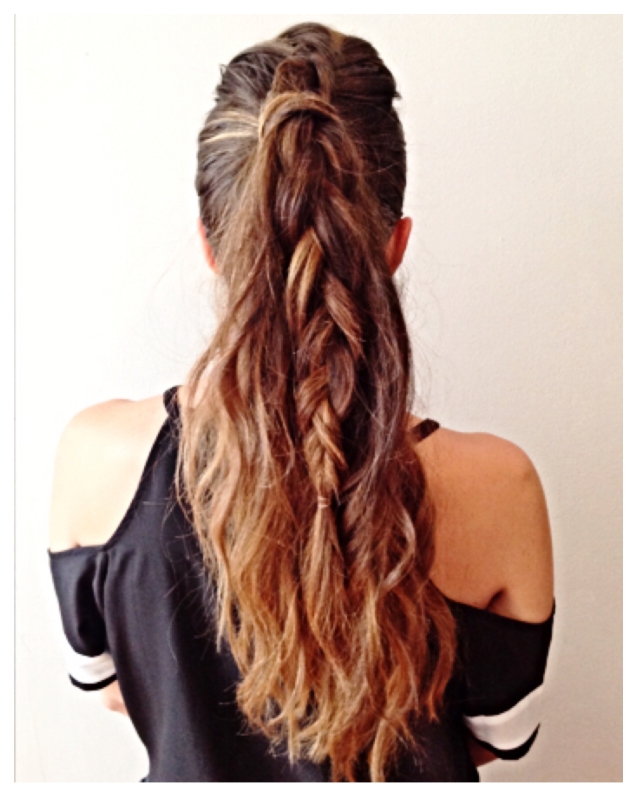
Look 1
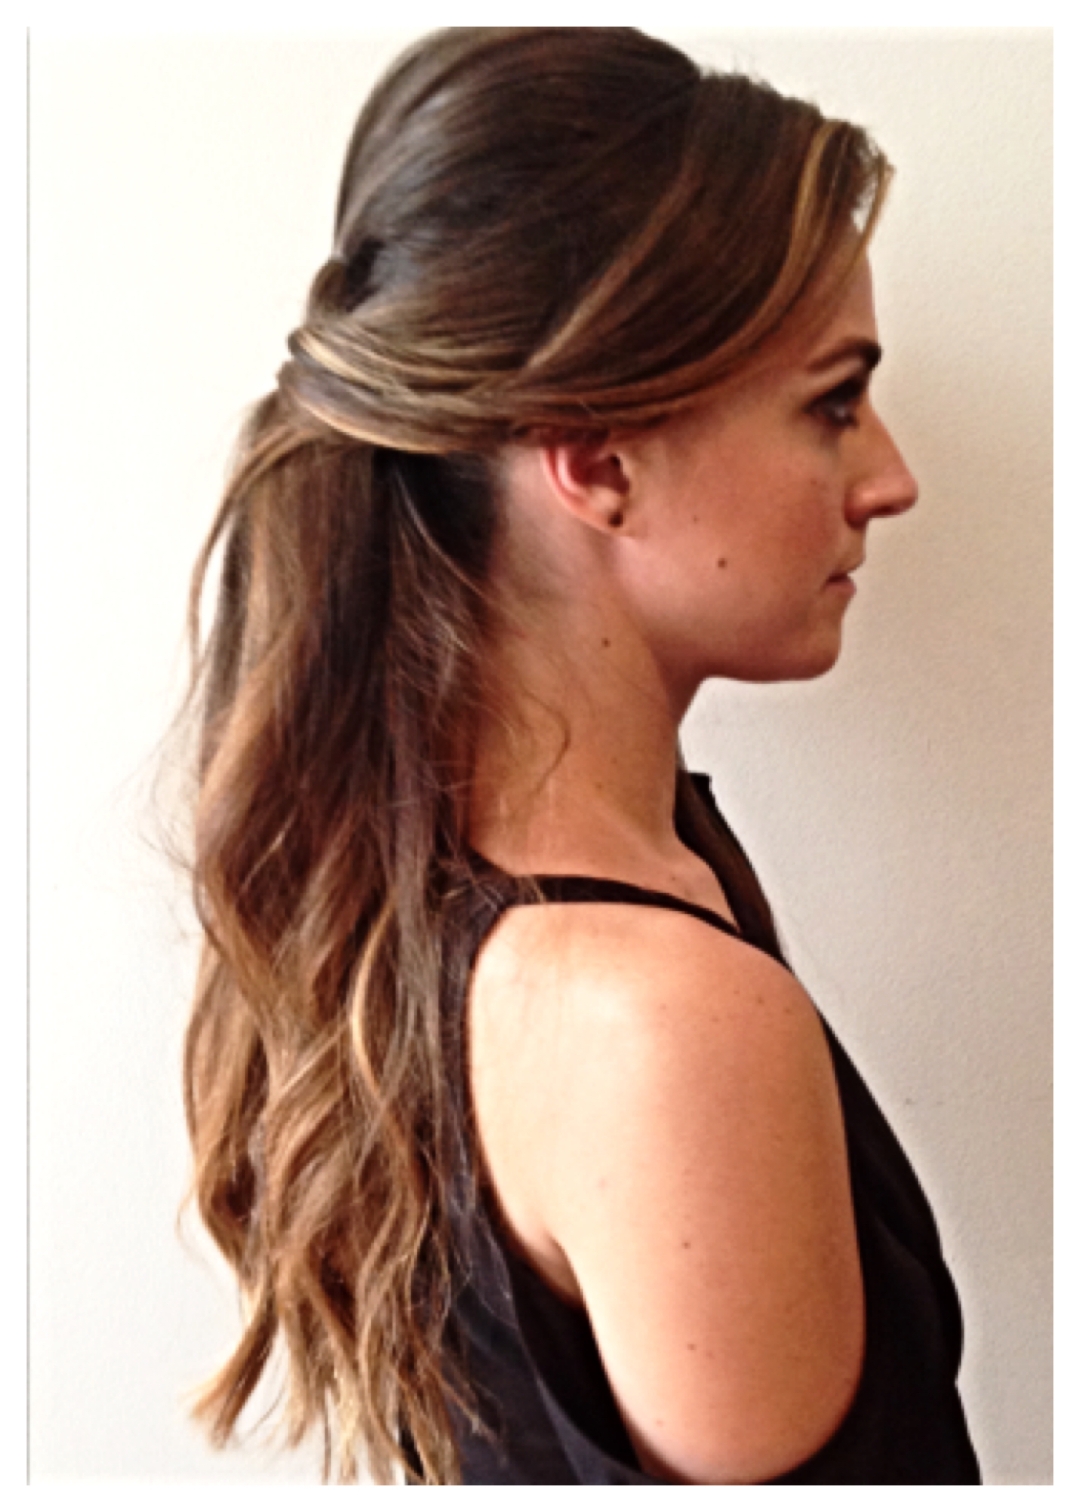
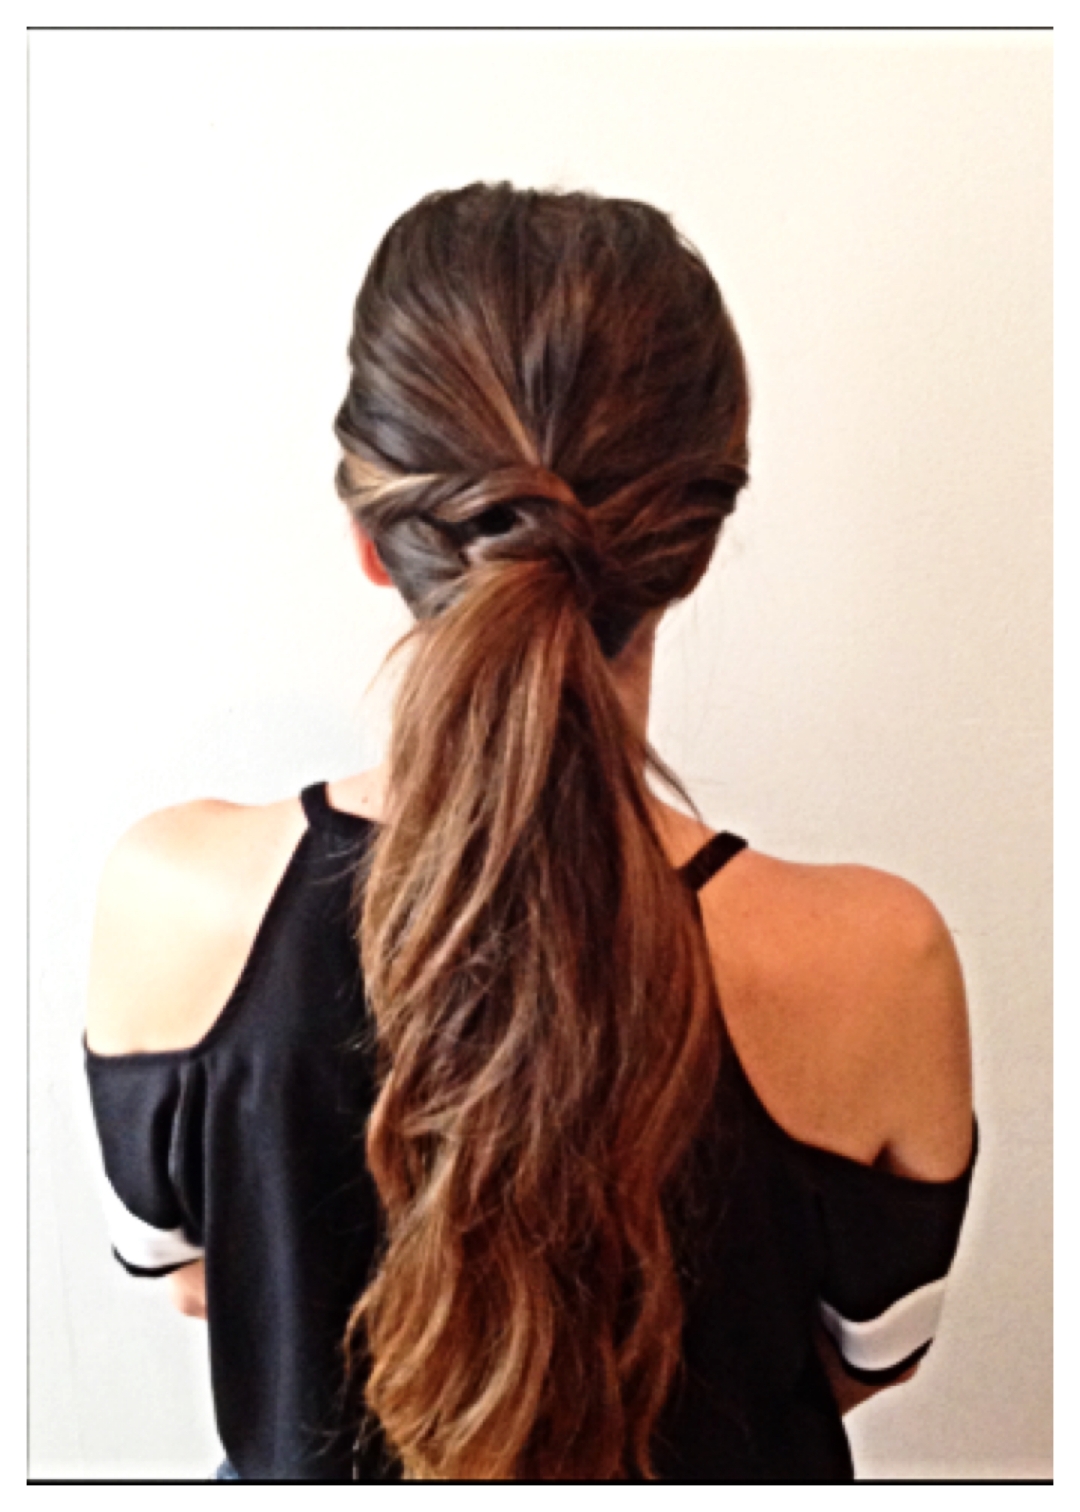
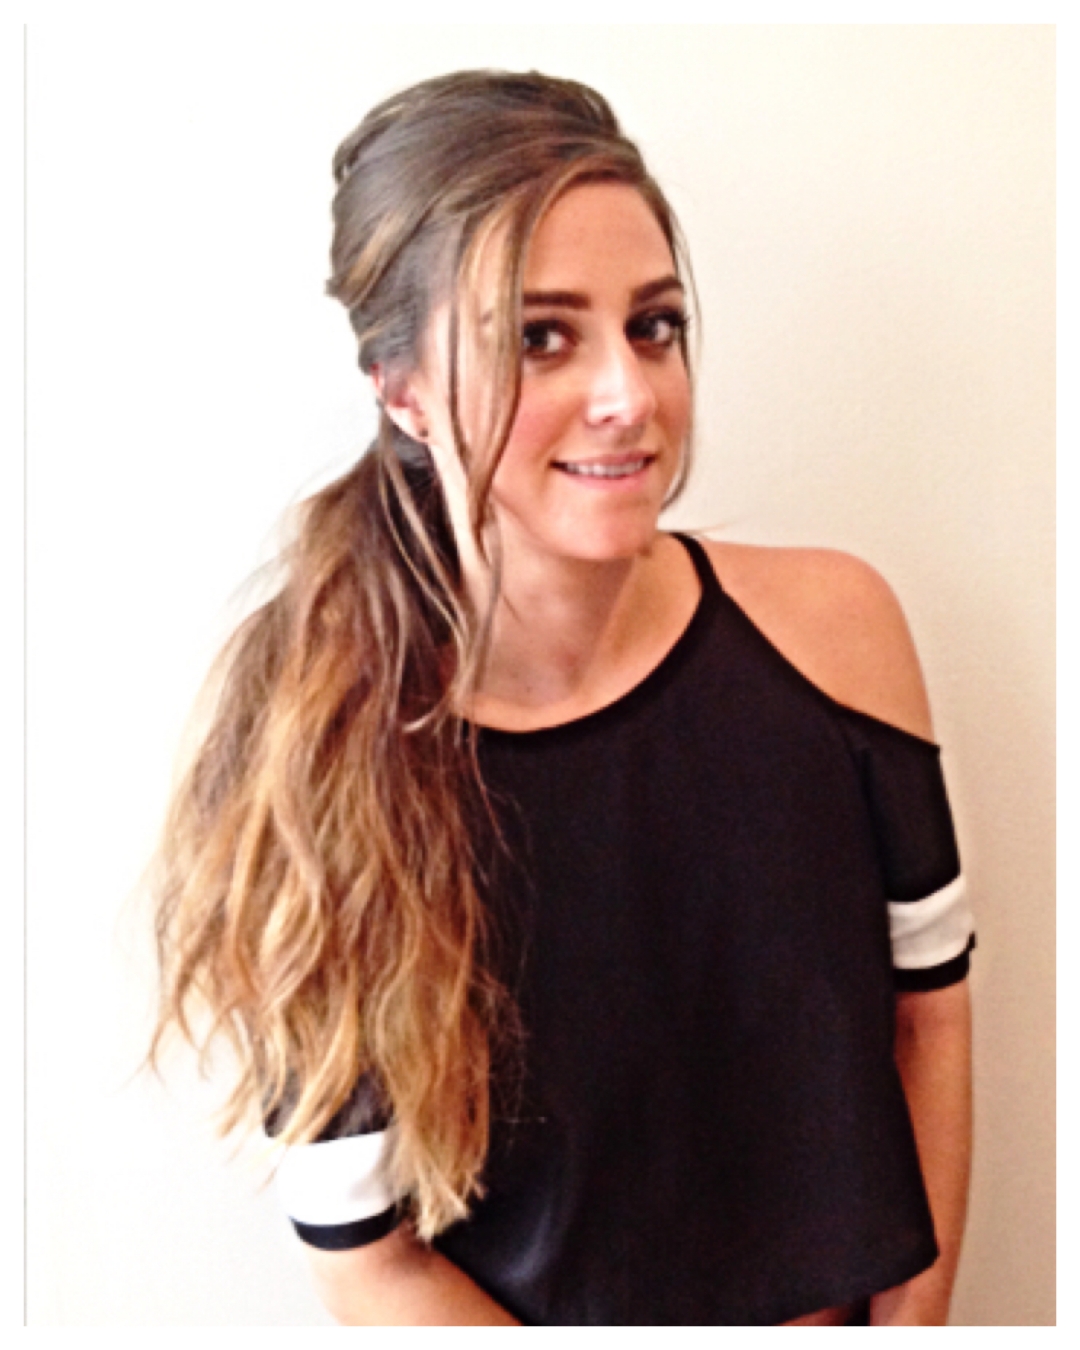
This ponytail look is great if your planning to spend the day at the park picnicking with friends or heading to a great weekend brunch! This look is casual, super easy and is fun with the different braids and texture.
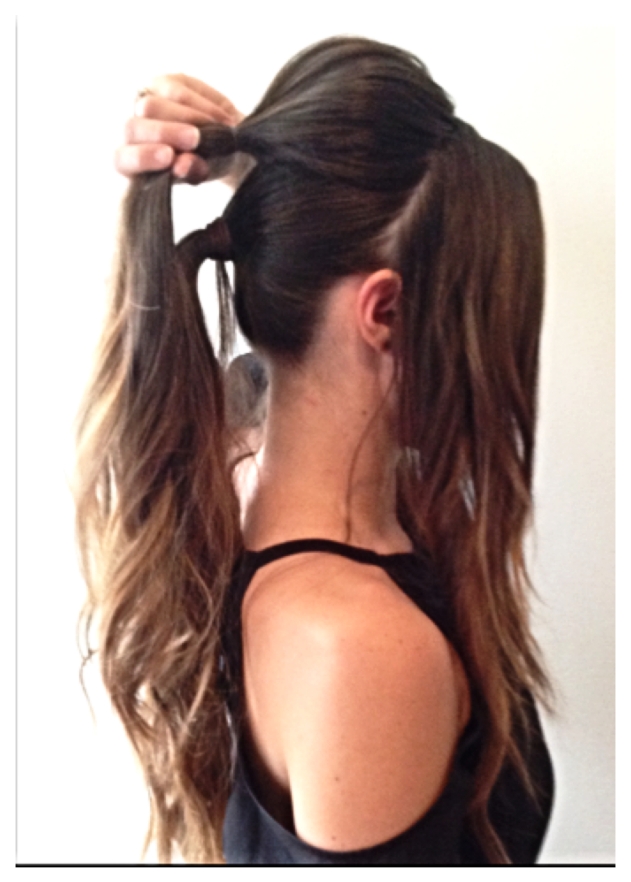
Step 1
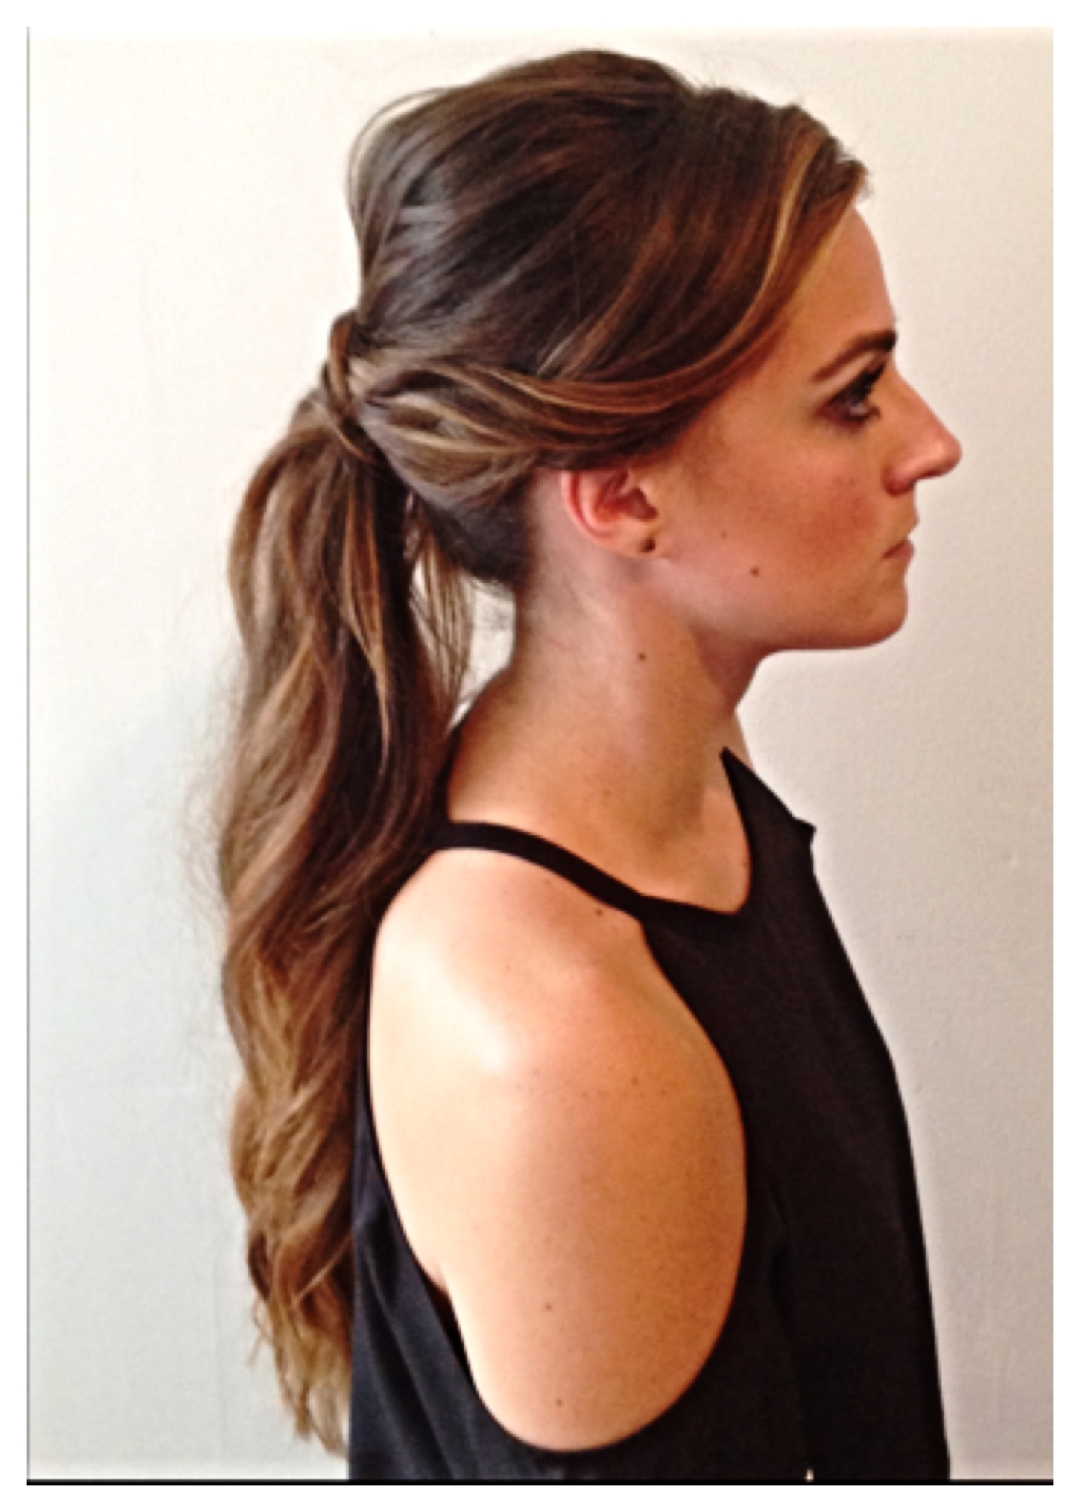
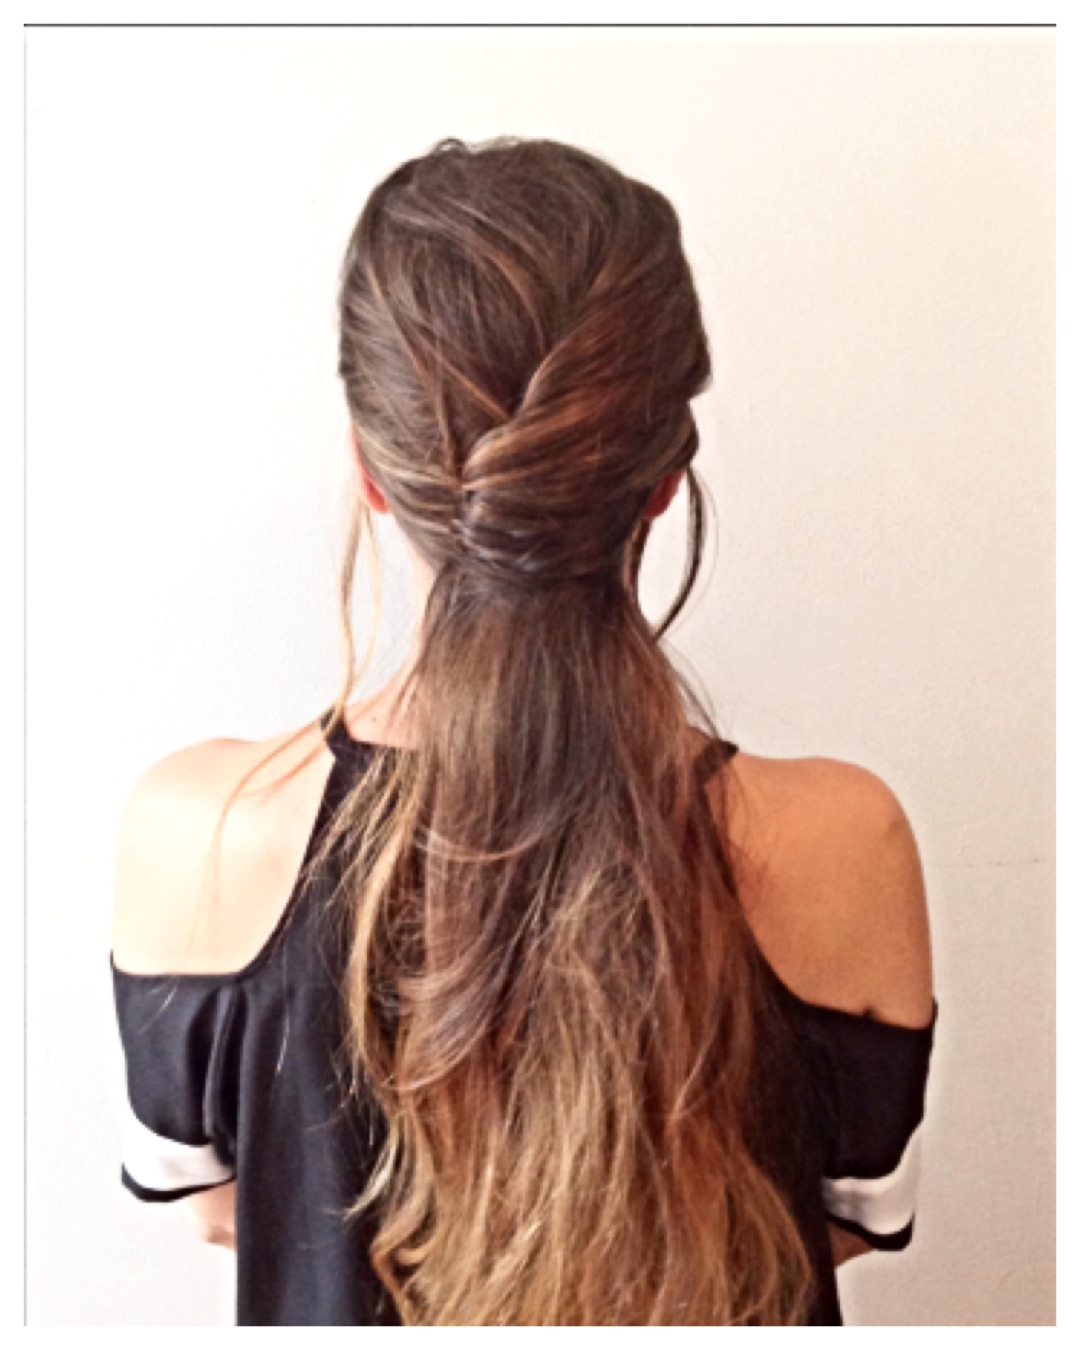
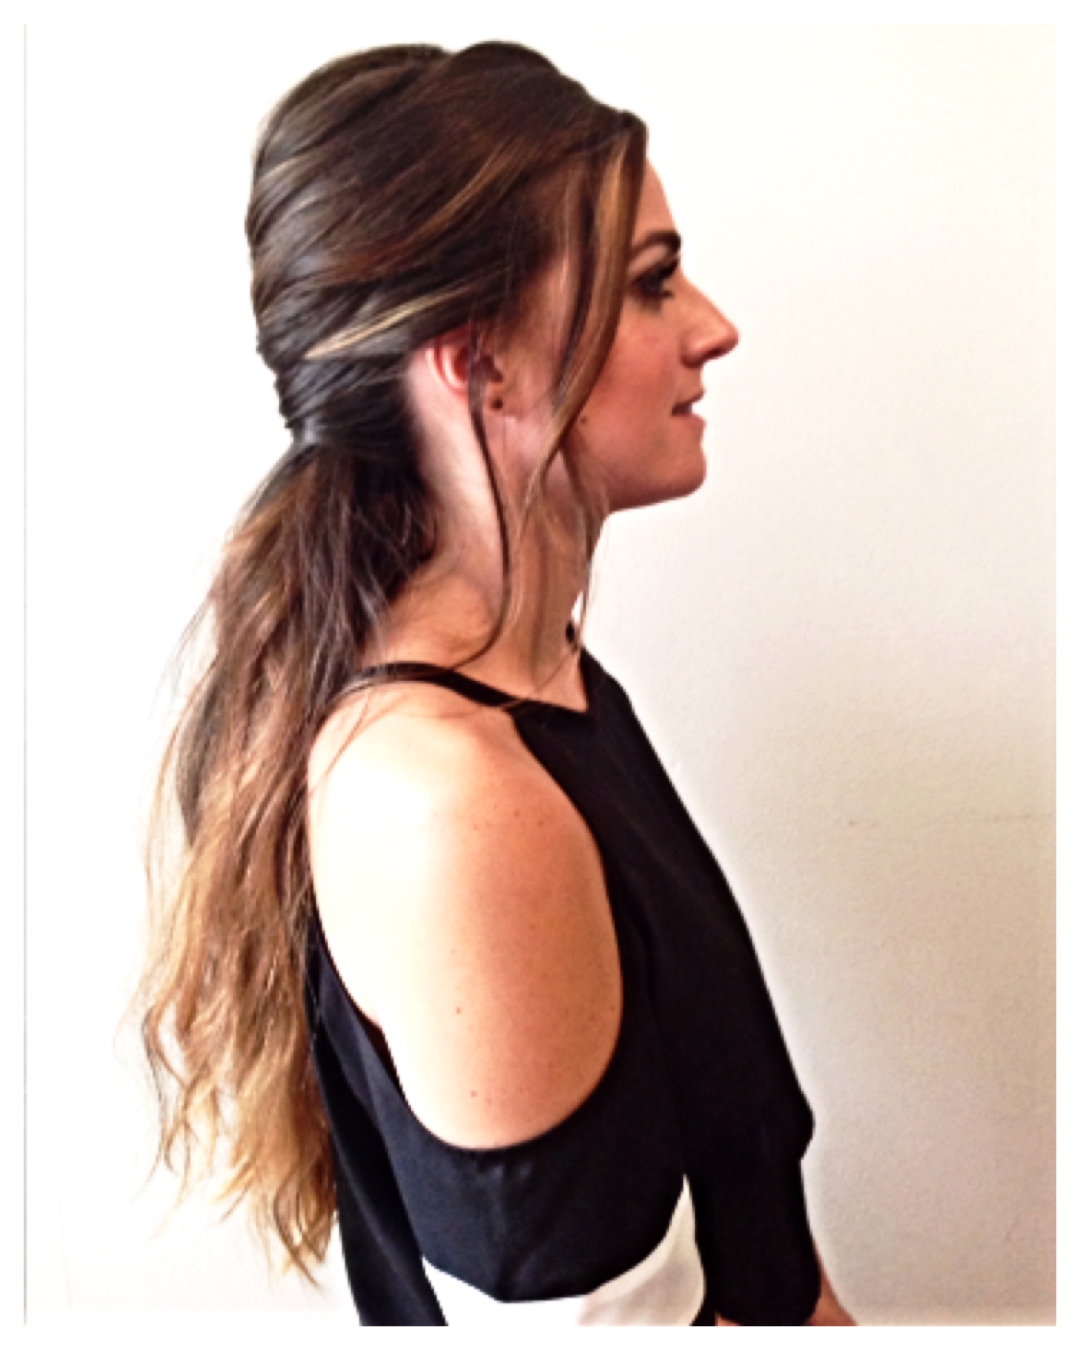
Section off the top part of your hair, starting above the temples going back to the crown of your hair, making a horse shoe like shape. Then take the bottom section and pull it back into a sleek ponytail to whatever your desired height may be.
Step 2
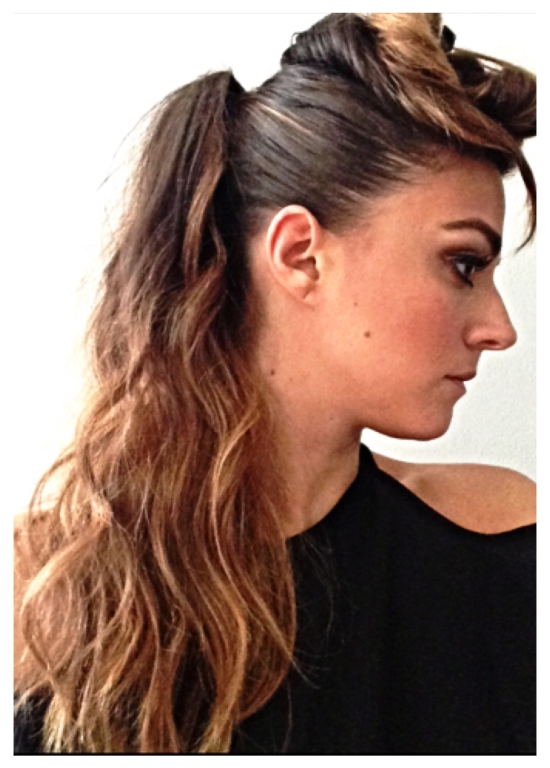
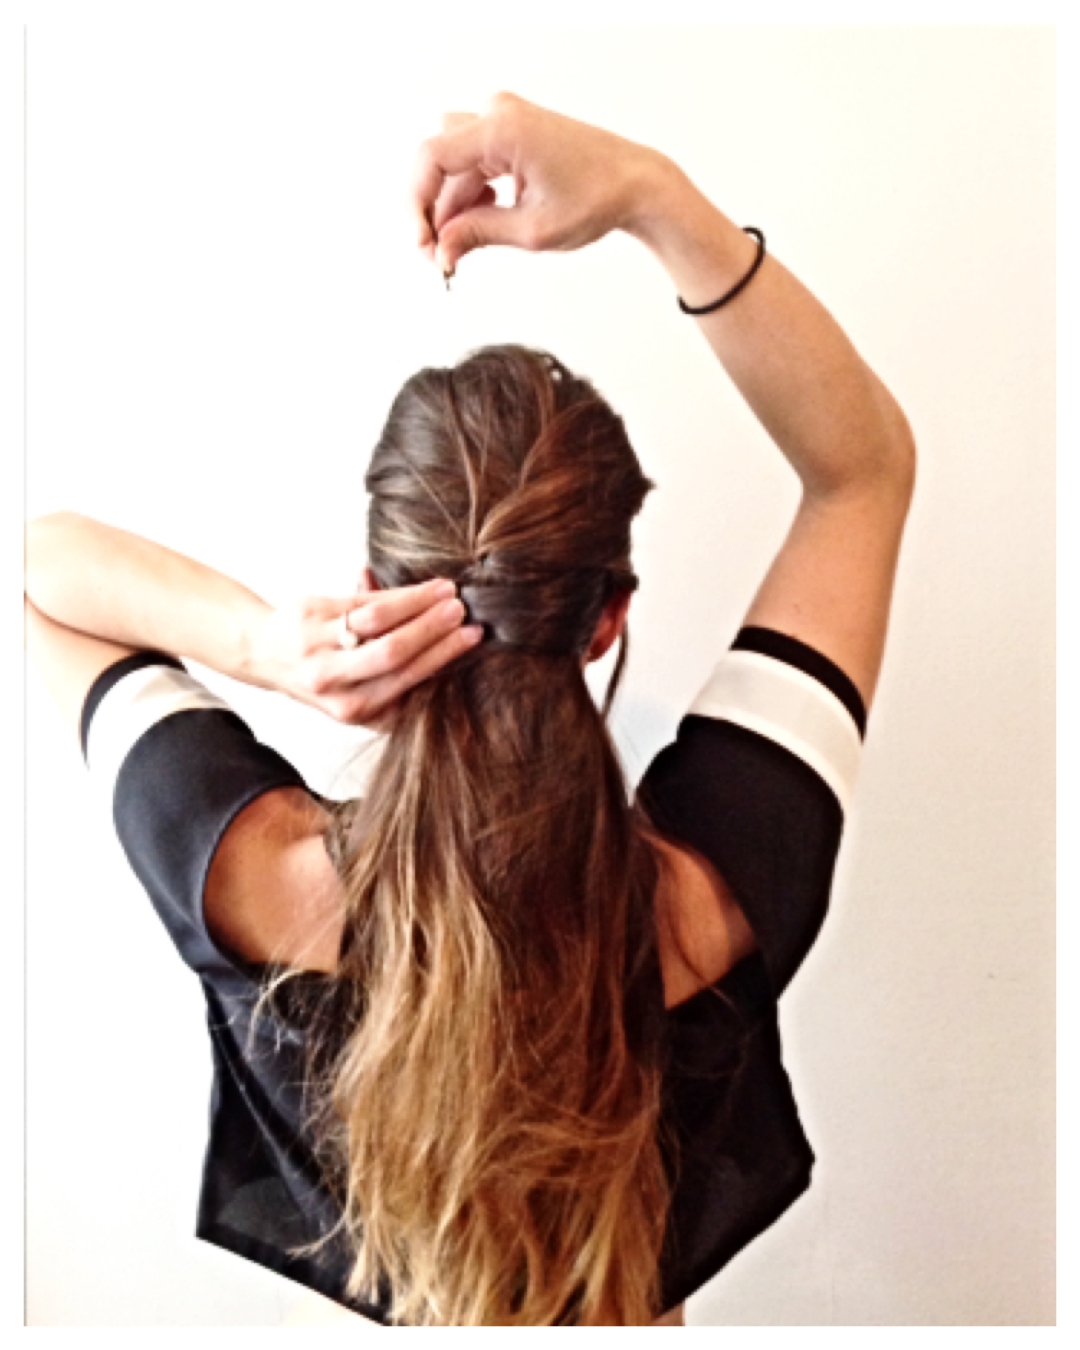
Inside out braid the top section of your hair. Rubber band the braid to the base of the pony tail. You have the option to pull the braid apart a little to make it looser and more textured.
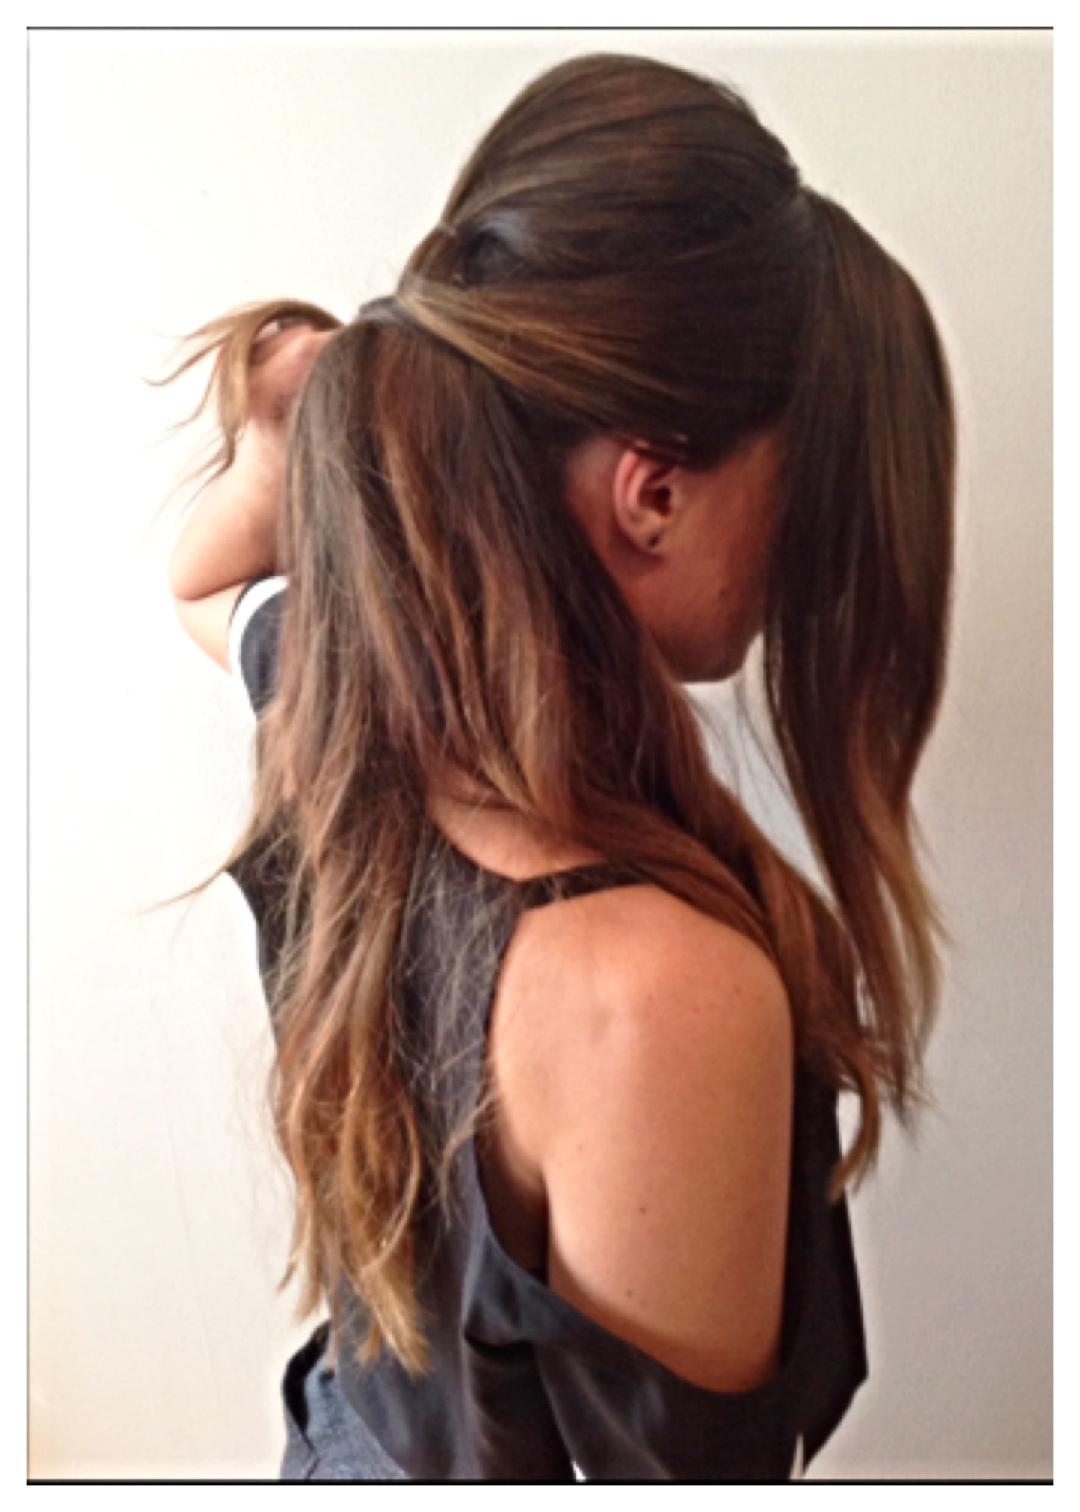
Step 3
Under the base of the ponytail take a small section of your hair and braid. Rubber band the end of the braid, and wrap it around the rubber band at the base of the pony. Pin it with a hair pin.
Final Look
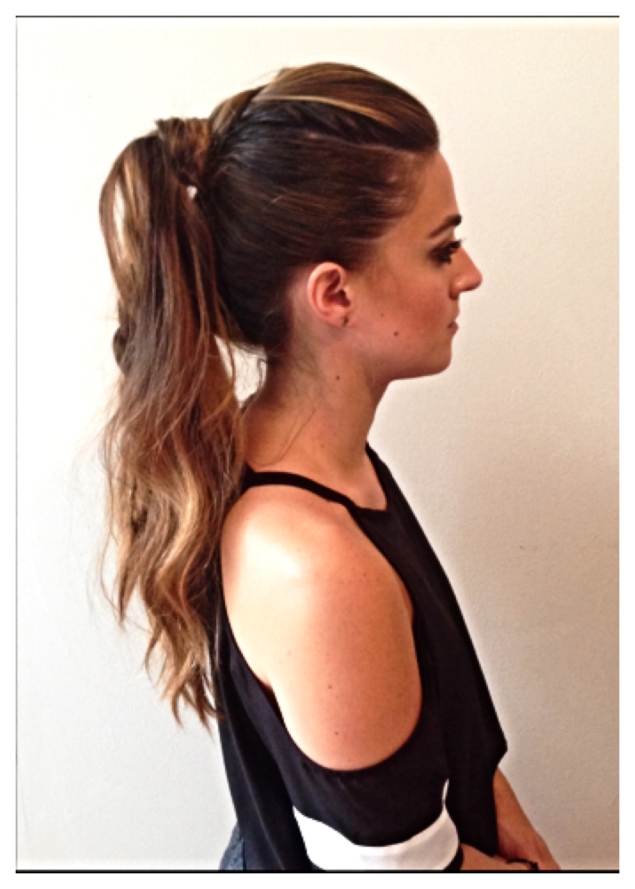
Look 2
This ponytail can work for many different summer occasions. I like to wear this look to an outdoor wedding or a more casual day wine tasting. It’s a little bit more polished, but still has some effortless texture. I used the same steps to prep this look, but I finished it a little more with a curl stick and didn’t add the texturizing spray.
Step 1
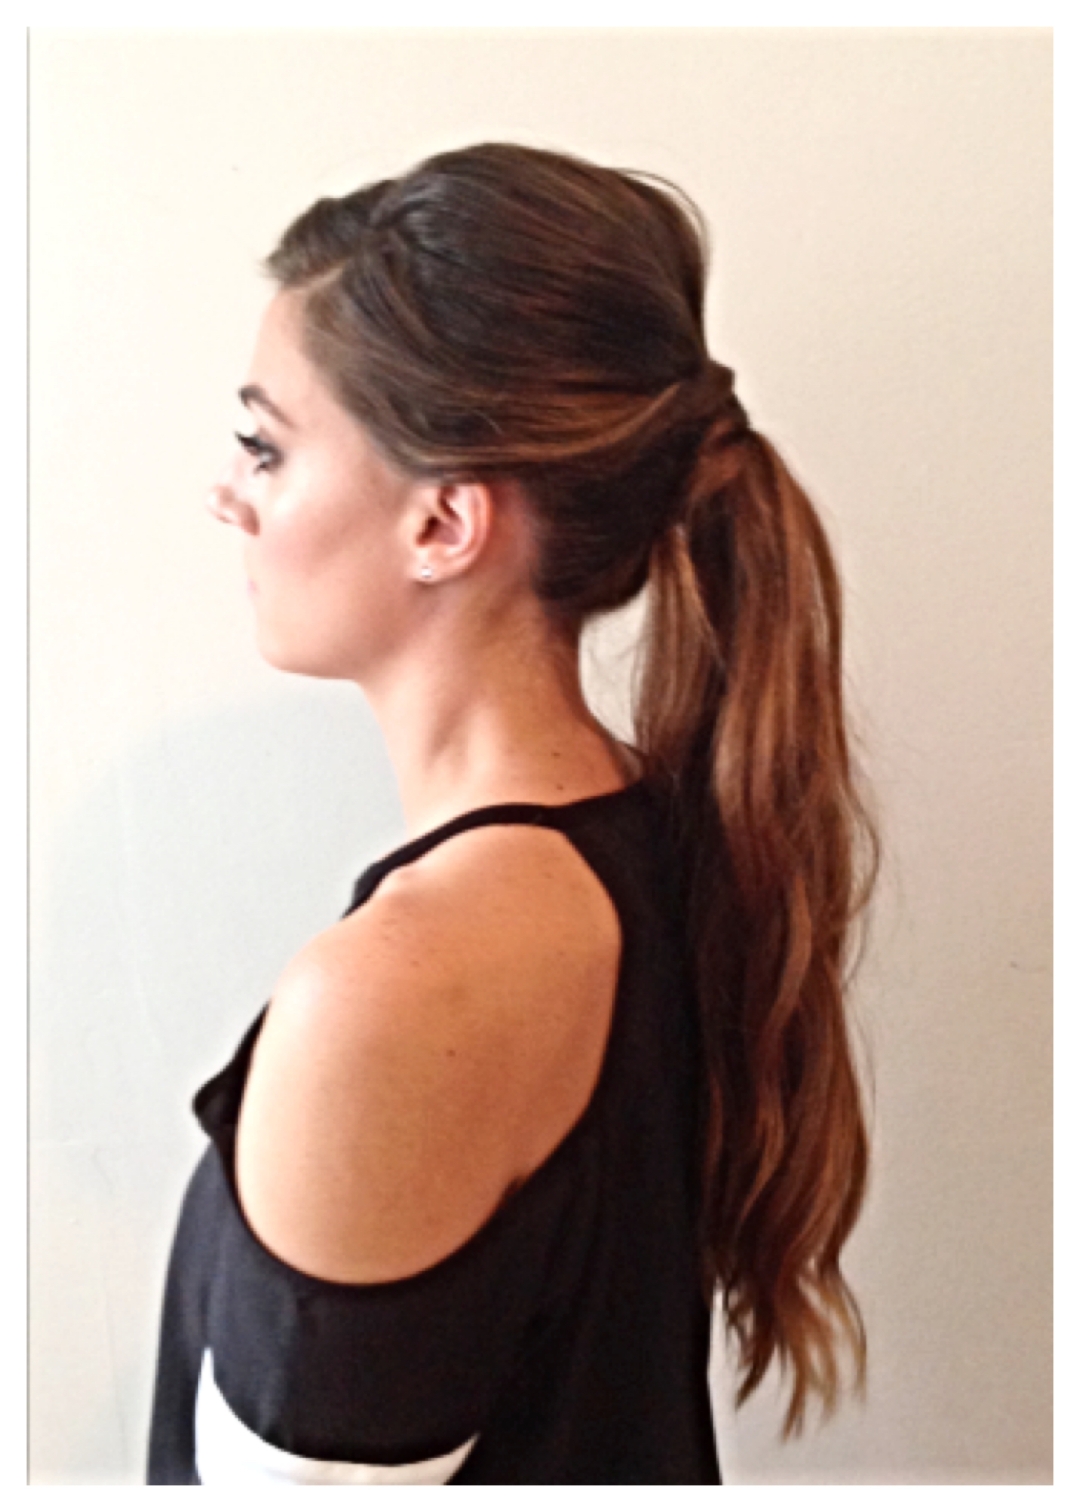
Section off the top crown area of the hair, leave out and clip away the hair on both sides from behind the ear and forward.
Step 2
Take the bottom section of hair and pull it into a tight low ponytail. Take the clipped away top section of hair and tease it to your desired height and smooth it over. Then rubber band it into a pony about two inches above the bottom pony.
Step 3
From the hair you left out on the right side of the head, take half of the hair and twist it back, then pin it underneath the base of the lowest ponytail. Then take the rest of the hair, twist and pin it in the same spot. (Repeat on the left side, but pin the hair underneath the base of the top ponytail this time.)

Final Look

Look 3
This last ponytail I like to call the reverse french twist. It’s an edgy fun pony I would wear out for a night on the town. It’s fun and textured, but the twist also gives it a sexy classic feel. I prep my hair the same way I showed in the beginning of the tutorial.
Step 1
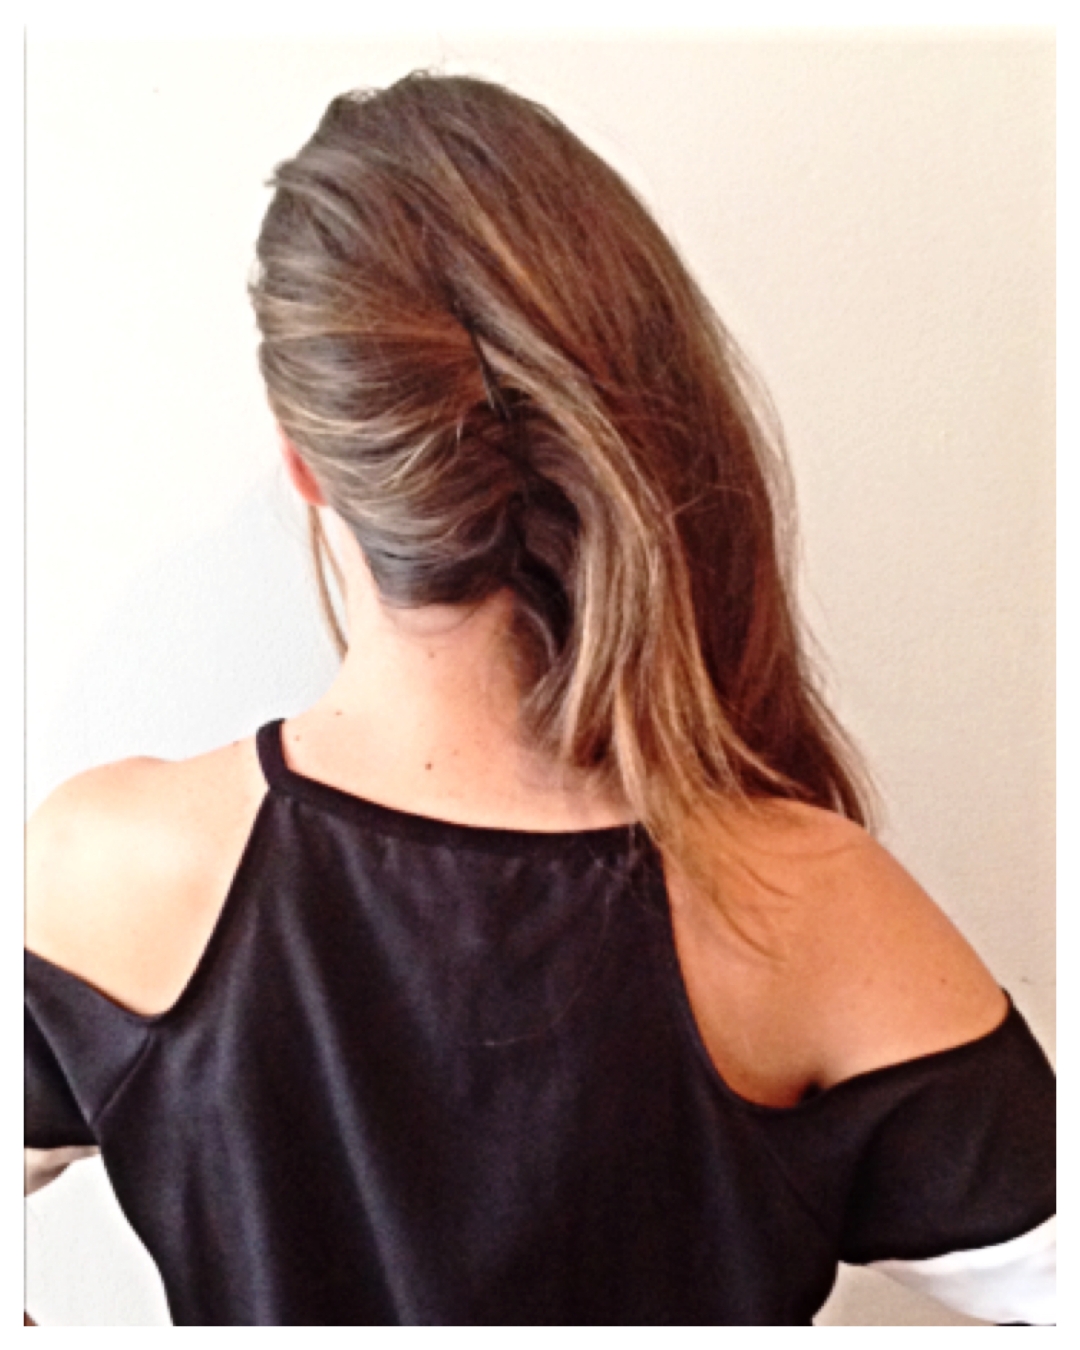
Tease your hair at the crown and smooth over. With a Mason Pearson brush, brush the hair to the right side of your head and cross pin three times with bobby pins.
Step 2
Take the hair you brushed over and roll and tuck it so it looks kind of like a french twist and pin in.
Final Look
If desired you can pull some of the front pieces out that frame the face.
We hope you guys enjoy recreating these ponytail styles, let us know what you think!
Xoxo,
Alicia

